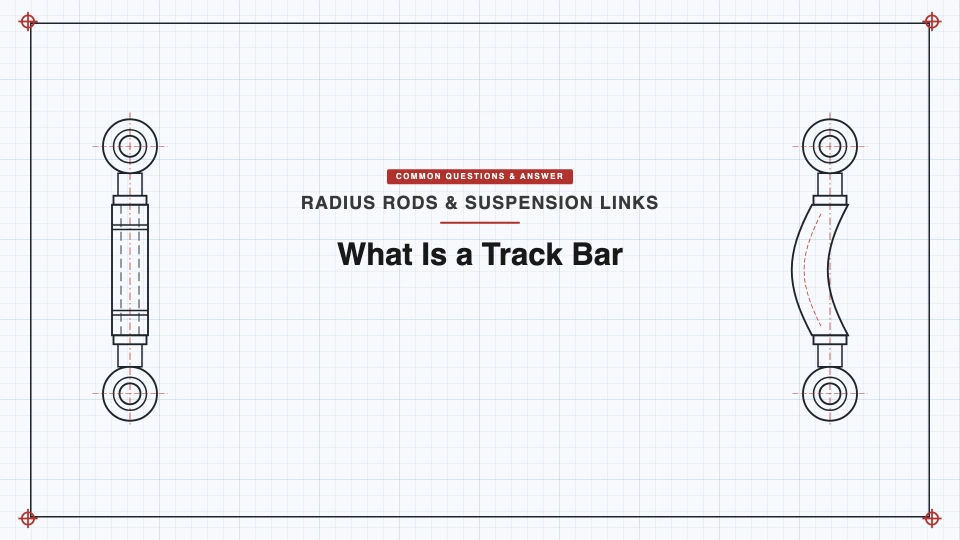
A track bar — also called a panhard bar, panhard rod, or track rod, all names for the same part — is a rigid link with a pivoting joint at each end: one end bolts to the vehicle's frame or body, the other bolts to the solid axle housing on the opposite side. Its job is to hold the axle centered side-to-side under the chassis while still letting it move freely up and down with the suspension.
Track Bar, Panhard Bar, Panhard Rod, Track Rod: All the Same Part
These four names describe one panhard rod, track rod, or radius rod style link, not four variations. There's no functional or design difference — which name you'll hear depends mostly on region and which corner of the enthusiast world you're in (panhard bar shows up more in classic-car and road-racing contexts, track bar more in Jeep and truck off-road circles). If you're comparing quotes or parts listings and one calls it a track bar and another a panhard bar, they're describing the same component.
How It Works
Both end joints pivot, which is what makes the geometry work: as the suspension compresses and extends, the bar swings through a small arc rather than binding. That pivoting is what allows vertical wheel travel through the joints while the bar's fixed length resists the axle sliding sideways. Coil springs are good at absorbing vertical load but do nothing on their own to locate the axle laterally — the track bar is the dedicated part that does that job.
Where You'll Find One
Track bars show up on solid (live) axles riding on coil springs — Jeep JK/TJ/XJ/ZJ/JL front axles, Ram 2500/3500 front axles, and Ford Super Duty applications are the common examples. Leaf-spring solid axles usually don't need one, because the leaf springs themselves provide enough lateral rigidity on their own; one documented exception is the '99–'04 Ford Super Duty, which uses a track bar on a leaf-spring front axle specifically to control bumpsteer rather than for primary lateral location. Fully independent suspension doesn't use a track bar at all — there's no solid axle to locate.
The Geometry Limit, and Why Lifted Vehicles Need an Adjustable One
Because the bar pivots from two fixed points, the axle end doesn't travel in a straight vertical line — it swings through a shallow arc, producing a small amount of side-to-side axle shift as the suspension moves. A taller ride height changes the bar's resting angle, and since a fixed-length bar's two mounting points no longer sit at the height they were designed for, the axle gets pulled off-center under the chassis. An adjustable (threaded, extend/retract) track bar exists to correct exactly this — after a lift or a lowering kit, you lengthen or shorten the bar to re-center the axle.
If you want to remove this arc entirely rather than manage it, a Watt's linkage is the alternative — two equal-length arms and a central pivot keep the axle moving in a true vertical line, at the cost of more mass, more mounting points, and more complexity. Most vehicles ship with a track bar rather than a Watt's linkage precisely because of that trade-off.
Track Bar vs. Sway Bar: Different Jobs, Not Interchangeable
These two parts get confused because they're both bars mounted near a solid axle, but they control completely different motions.
| Track bar | Sway bar | |
|---|---|---|
| Controls | Lateral (side-to-side) position of the axle under the chassis | Body roll (chassis lean) during cornering |
| Mounted | Roughly horizontal, frame to axle, opposite sides | Connects left and right sides of the same axle, resists them moving independently |
| What fails without it | Axle wanders side-to-side, imprecise steering, at the extreme: death wobble | Excess body lean in corners, no effect on axle centering |
| Can one replace the other? | No | No |
Neither part does the other's job, and disconnecting or removing one doesn't compensate for the other.
The Detail Most Write-ups Skip: Matching the Track Bar to the Drag Link
On a front solid axle, the track bar isn't the only fixed-length link running from frame to axle — the steering drag link is too. For the steering to stay stable through the suspension's full travel, the track bar and the drag link need to be roughly parallel and close to the same effective length, so both arcs match as the suspension compresses and extends. If they don't match — say, after a lift that changes one geometry but not the other — the mismatch shows up as bumpsteer: the steering wheel tugs or the vehicle wanders on its own as the suspension moves, independent of anything the driver does with the wheel. This is why a lift kit that includes a track bar relocation bracket or an adjustable track bar usually needs a matching drag link correction too — changing one without the other reintroduces the exact problem the adjustable part was meant to fix.
When a Track Bar Is Failing
Common signs include wandering or vague steering, a clunk over bumps or through corners, uneven tire wear, and — in more severe cases — death wobble, a violent high-speed shaking of the front end. These symptoms overlap with several other worn front-end parts, which is why diagnosis matters more than guessing.
Related reading: What Is a Panhard Bar? Function, Geometry, and When You Need One · What Is a Track Bar on a Truck? · Panhard Bar vs. Track Bar: Is There a Real Difference? · Track Bar vs. Sway Bar: What's the Difference? · Can You Drive With a Bad or Broken Track Bar? · Can a Bad Track Bar Cause Death Wobble? · Why You Need an Adjustable Panhard Bar After a Lift