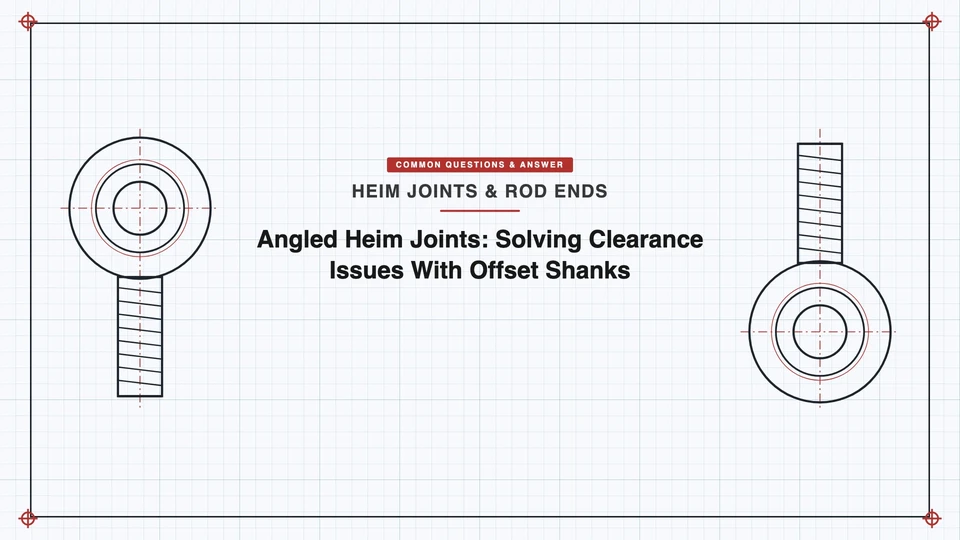
A standard straight-shank Heim joint puts the bearing center directly on the shank’s centerline — which is fine until the joint’s body, a mounting tab, the chassis, or another component ends up occupying that same space during articulation. An offset (angled) Heim joint solves this by moving the bearing eye away from the shank’s centerline, freeing up clearance without changing what the linkage actually does.
What an Offset Shank Actually Changes
On a standard Heim joint, the shank and the bearing center are roughly in line. An offset joint shifts the bearing center laterally relative to the shank. That lateral shift can eliminate interference with steering arms, differential covers, chassis brackets, shock bodies, control arm pockets, sway bars, or the wheel and tire itself — whichever component was fighting the standard joint for the same physical space. Some offset designs use roughly a 1-inch head offset, though the exact figure depends on the specific size and configuration.
Where This Comes Up
- Suspension links with limited frame clearance. A common case: a three-link or four-link suspension where the joint contacts the frame bracket at full compression. An offset joint moves the bearing center outward instead of requiring wider brackets or a redesigned link.
- Steering clearance conflicts. Drag link and tie rod angles frequently compete for space with axle housing components, differential covers, or a track bar. An offset joint can buy the room steering components need while keeping a strong spherical connection.
- Extreme articulation builds. Rock crawlers, race vehicles, and custom off-road builds often need more range of motion than a straight joint’s packaging allows. An offset joint can improve how the linkage packages into tight spaces while retaining that range.
Offset Shank vs. Misalignment Spacer — Not the Same Thing
These get confused because they both show up in the same conversations about clearance and articulation, but they solve different problems:
- A misalignment spacer changes the angle the joint can rotate through — it improves angular travel.
- An offset shank moves the entire bearing location — it improves positional clearance, not just angle.
Plenty of builds use both together: an offset Heim to solve the packaging problem, plus a spacer for additional angular range where it’s still needed.
The Tradeoff: More Offset Means More Bending Load
A straight-shank Heim primarily sees tension and compression along its axis. Moving the bearing center off that axis introduces a bending moment — moment = force × offset distance. The larger the offset, the higher the bending load on the shank and its threads. This is the same mechanical principle covered in Bending vs. Axial Loads: Why Heim Shanks Fail, and it applies directly here: a small offset that solves your clearance problem is a reasonable tradeoff, but a large offset chosen without considering the added bending load can meaningfully reduce the joint’s strength and fatigue life.
Before You Install: Check the Clocking
Because an offset joint’s body isn’t symmetrical the way a straight one is, installation orientation matters. Before finalizing the install, verify clearance at full droop, full compression, steering lock (if applicable), and confirm the offset doesn’t create new contact with a misalignment spacer or nearby hardware — an offset joint installed in the wrong rotational orientation can reintroduce the exact interference problem it was meant to solve.
Related reading: Bending vs. Axial Loads: Why Heim Shanks Fail · Do You Always Need High-Misalignment Spacers?