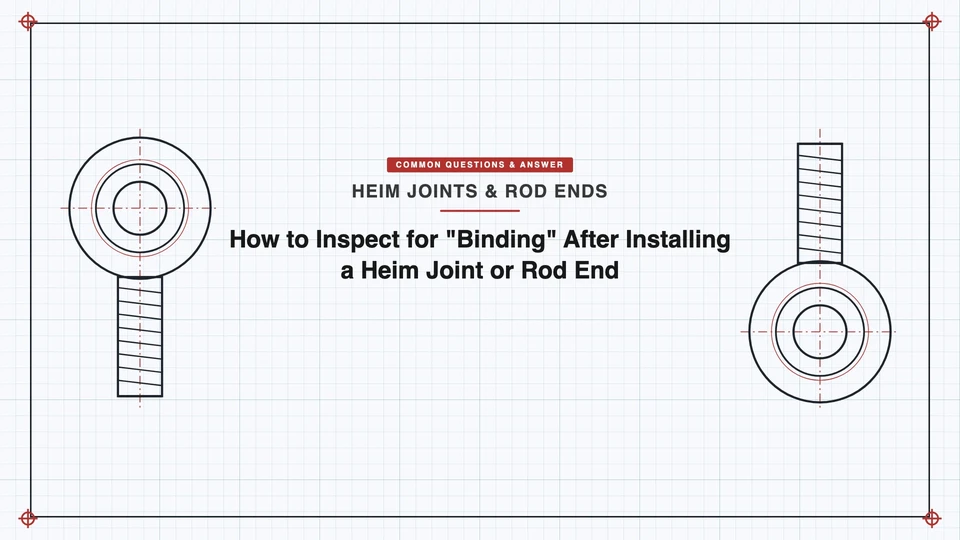
In rock crawler suspension, checking for binding means cycling the joint through its full working range of motion — by hand, before you torque anything to final spec or put the vehicle back on the ground — and confirming the shank never contacts the housing, spacer, or mounting bracket at any point in that travel. If it does, the joint isn’t rotating freely anymore; it’s being forced to flex where it shouldn’t, and that’s a failure waiting to happen, not a break-in quirk that goes away.
What "Binding" Actually Means Here
Every rod end and Heim joint has a rated misalignment (cone) angle — the maximum angle its shank can swing relative to the housing before the shank itself touches the housing bore or the mounting bracket’s ears. Push the joint past that angle — because the application needs more articulation than the part is rated for, or because the mounting geometry pinches it — and the shank makes contact. That contact is binding: partial or total loss of the joint’s ability to rotate freely.
The reason this matters more than it sounds: a bound joint no longer sees pure rotational load. The bending load that the ball-and-race was supposed to absorb gets transmitted straight into the shank and its threads instead — a load path the part wasn’t designed to handle over and over. That’s a direct path to a bent shank, a cracked housing, or a seized joint, usually well before the part would have failed under its rated load in normal, unbound operation.
Symptoms, Ranked by How Often They Show Up
| Symptom | What it tells you |
|---|---|
| Noticeable tightness, grittiness, or drag when hand-cycling the joint near the end of its travel | The shank is approaching or touching the housing/bracket at that extreme — the most common way binding first shows up |
| A sudden, step-change increase in resistance (not a gradual stiffening) partway through the cycle | Contact at a specific point in the arc, not general friction — points to a geometry mismatch rather than dry/dirty bearing |
| Fresh scuff marks, shiny wear spots, or removed paint on bracket ears, spacer edges, or the shank itself at the travel extremes | Physical contact has already been happening — this is retrospective evidence, useful if you’re diagnosing a joint that’s already in service |
| Audible click or grinding when cycling by hand | Usually a later-stage sign than the resistance change above — don’t wait for this before you check |
How to Actually Check It
- Before final torque, cycle the joint by hand through the full range of motion the application will actually use — full suspension travel, full steering lock, whatever applies. Feel for resistance that stays roughly constant versus resistance that spikes or hard-stops before the mechanical limit.
- Look at the mounting interface. With the joint at the extremes of that travel, visually check whether the shank, shoulder, or housing is touching the bracket ears, a spacer, or a washer. Small gaps are easy to misjudge by eye alone — that’s what the next two steps are for.
- Mark the contact surfaces. Dab machinist’s layout fluid (Dykem), chalk, or a dry-erase marker on the bracket ear faces or wherever contact seems possible, then cycle the joint through its range a few times. Wherever the marking transfers or gets scrubbed off is the exact contact point — this is the same high-spot technique used to diagnose binding in any mechanical assembly, from door hinges to bearing housings, and it transfers directly to a rod end.
- Measure the clearance with a feeler gauge. With the joint sitting at mid-travel (not loaded to one extreme), slide a feeler gauge or thin shim between the shank/housing shoulder and each bracket ear. There’s no single clearance number that applies across every rod-end series and bracket design — the point is confirming there’s a deliberate, measurable gap before you commit to final assembly, not eyeballing "close enough."
- Torque to spec, then re-cycle. This step gets skipped more than any other. Tightening a jam nut or through-bolt to its final torque can pull bracket ears closer together than they were during your dry-fit check, introducing binding that wasn’t there a minute earlier. Always re-run the hand-cycle test after final torque — not just before it.
What’s Causing It, Ranked by How Often Each Shows Up
- The application’s actual articulation angle exceeds the installed joint’s rated misalignment angle. This is the most common root cause — a joint that’s correctly installed but under-specified for the geometry it’s being asked to handle.
- Insufficient spacer width between bracket ears, so the ears themselves pinch the housing before the joint reaches its rated angle.
- Bracket ears that aren’t parallel or a mounting face that’s slightly out of square, pre-loading the joint off-axis before it ever moves.
- Torquing the jam nut or bolt to final spec before checking clearance — see step 5 above; this is the "invisible" cause because the joint looked fine during the dry fit.
- A shank that’s narrower than the bracket width it’s mounted in. This is a different problem — lateral shank play, not binding — and it’s worth telling apart, because the fix (a properly sized bushing or spacer, not more clearance) is the opposite of what fixes binding.
Fixing It
- If the angle genuinely exceeds the joint’s rating: the fix isn’t forcing more clearance out of the current part — it’s stepping up to a joint or spacer arrangement rated for the angle you need. See How to Fix Bump Steer Using High-Misalignment Spacers and Do You Always Need High-Misalignment Spacers? for how that trade-off works and what it costs you in bolt shear strength.
- If it’s a bracket spacing or squareness issue: add or remove spacers to correct ear width, or true up a bent or out-of-square bracket face before reinstalling.
- Don’t "fix" binding by backing off the jam nut or bolt torque. That trades one failure mode (binding) for another (a joint that’s free to move because it’s under-torqued) — it doesn’t resolve the underlying geometry mismatch, and it introduces a new safety-relevant problem of its own.
Related reading: Do You Always Need High-Misalignment Spacers? · How to Fix Bump Steer Using High-Misalignment Spacers