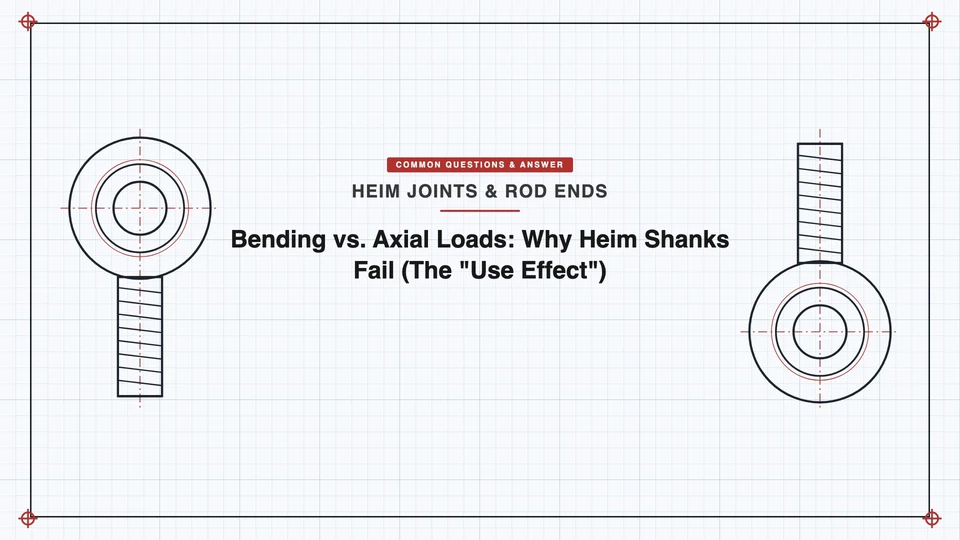
A Heim joint rated for a high axial load can still fail well below that number in rock crawler suspension service — and the reason isn’t a defective part. It’s that the rating and the real-world load are measuring two different things. The rating assumes a pure, centered axial load. Real installations almost always introduce some bending, and bending is what actually breaks these parts.
Two Different Loading Conditions
A Heim shank — the threaded stem that connects the rod end’s ball-and-race assembly to whatever it’s mounted to — is designed as what’s called a two-force member: something meant to carry load purely along its centerline, in tension or compression. In that ideal case, stress is distributed evenly across the shank’s cross-section (stress = force ÷ area), and a manufacturer’s published static load rating reflects exactly that condition: centered load, slow application, no bending, no repeated cycling.
Real installations rarely match that condition. Angular misalignment, a mounting bracket that isn’t perfectly aligned, side loads from suspension geometry, vibration, shock loads, loose hardware, or using the joint outside its intended articulation range — any of these shifts the load off the shank’s centerline. That offset (call it "e" for eccentricity) turns a portion of the axial force into a bending moment: moment = force × eccentricity. Even a small offset produces a real moment once you multiply it by a meaningful load.
Why Bending Is the More Dangerous of the Two
Axial stress spreads evenly across the whole cross-section. Bending stress doesn’t — it concentrates at the outer surface of the shank, and specifically at the locations that are already the weakest points in the part: the first engaged thread, the thread root, and the transition between the threaded section and the shank body. These are exactly the locations where a fatigue crack is most likely to start. A part that would comfortably handle its full axial rating in the ideal case can be carrying dramatically higher stress at these specific points once a bending component is added — because axial and bending stress add together at the location where bending peaks, not average out.
This is the mechanical reason a rod end can fail at a fraction of its published rating: the rating was never measuring the bending-plus-axial combination that shows up once the part is actually installed and doing real work — what gets called the "use effect" in suspension engineering circles, or "Rod Ends in Bending" (REIB) in motorsport design communities specifically. It’s a well-recognized failure pattern, not a fringe concern — enough of one that experienced vehicle-dynamics engineers treat mounting a rod end where it will see bending load as a fundamental design mistake to avoid, not a tolerable compromise.
Three Failure Patterns to Recognize
- Crack at the first thread — the most common pattern. Driven by the combination of bending moment, the stress concentration already present at the thread root, and repeated (cyclic) loading over time.
- Permanent shank bend — usually from a single excessive side load, a rod end mounted at an angle it wasn’t designed for, or a shank diameter that was undersized for the actual load.
- Sudden fatigue fracture — a crack initiates at a stress concentration, grows progressively (often invisibly) over many load cycles, then finishes with a final fracture that can look abrupt even though it wasn’t.
How to Keep Load Axial (and What to Do When You Can’t Fully)
Minimize the bending in the first place:
- Align the rod end’s centerline with the actual load path as closely as the installation allows.
- Avoid side-loading the joint — this is as much a mounting-geometry decision as a hardware choice.
- Use spacers or shims to correct alignment rather than letting the joint absorb an offset.
Increase the shank’s resistance to whatever bending remains:
- A larger shank diameter and a shorter unsupported length both reduce bending stress for the same applied load.
- Higher-grade shank material raises the stress level the part can absorb before yielding.
- Rolled threads (as opposed to cut threads) leave the thread root with better fatigue resistance, since rolling work-hardens the material at that stress-concentration point instead of cutting through the grain structure.
Reduce fatigue accumulation over the part’s service life:
- Avoid repeated shock loading where the application allows it.
- Inspect threads periodically for early crack indications rather than waiting for a failure.
- Control corrosion — a corroded thread root is a head start on crack initiation.
- Use correct preload where the mounting hardware calls for it; under-preloaded joints see more cyclic stress range than properly preloaded ones.
The Bottom Line
A Heim shank’s published load rating tells you what it can handle under ideal, purely axial conditions — it doesn’t tell you what happens once the part is doing its actual job in a real installation with some amount of misalignment, vibration, or side load. The failure mode to design against isn’t "the load was too high." It’s "the load introduced bending the rating never accounted for." Keeping the load path as close to axial as the application allows is the single highest-leverage thing you can do to close that gap.
Related reading: Formula Student & Go-Kart: Precision Requirements for Small-Scale Racing · What Is "Ball Pull-Out" and How Do You Design Against It?