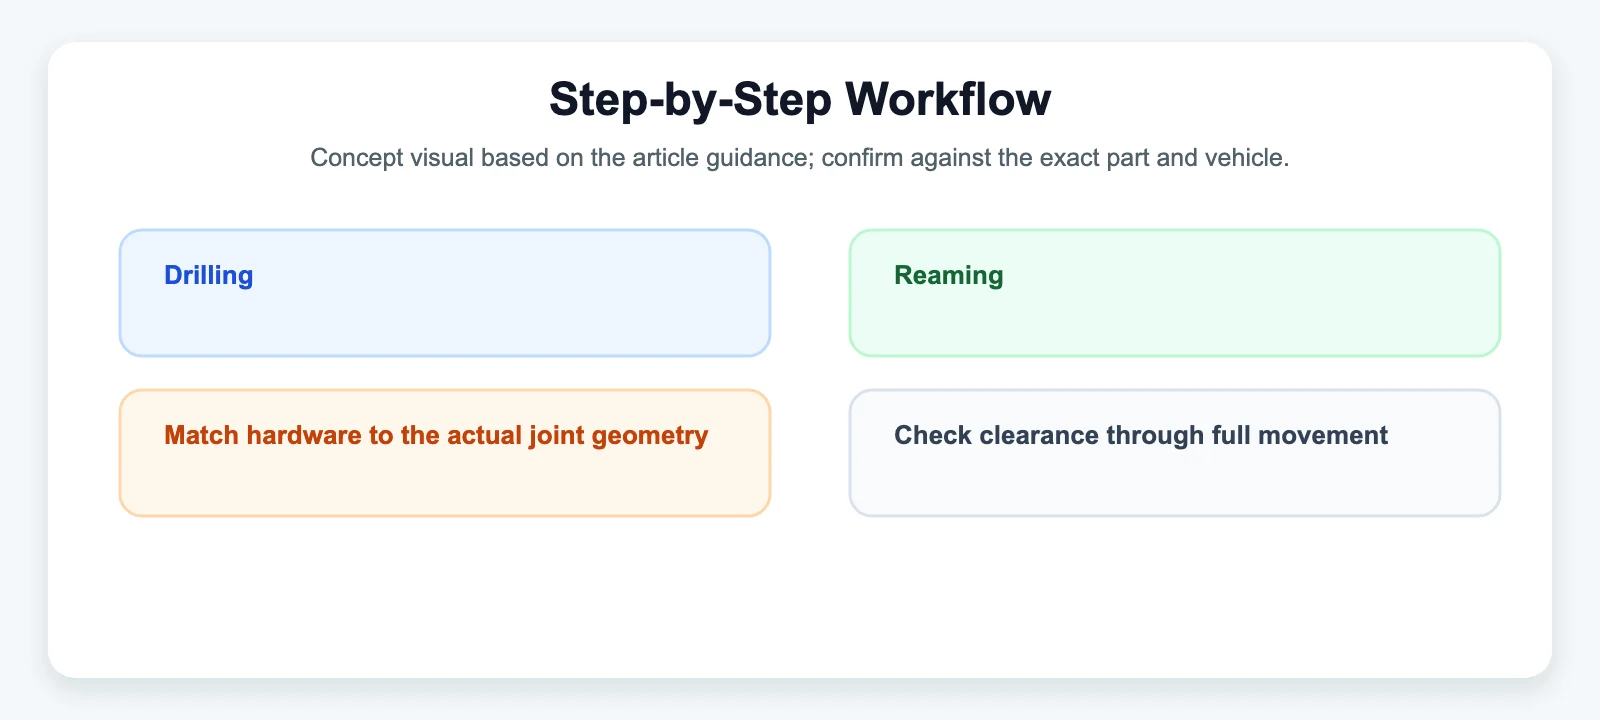
Drilling creates the hole. Reaming makes it precise. For bump steer correction through a tapered knuckle bore — the seat a Heim joint or tapered stud ultimately fits into — these are two different operations doing two different jobs, not two competing ways to make the same hole.
What Each Operation Actually Does
| Drilling | Reaming | |
|---|---|---|
| Primary purpose | Create the hole, remove most of the material | Finish the hole to its final size and geometry |
| Dimensional accuracy | Moderate | High |
| Surface finish | Relatively rough | Significantly smoother |
| Geometry consistency | Can carry runout or taper error | Better roundness, size consistency, and taper accuracy |
| Material removal per pass | Relatively large | Small, controlled allowance |
A standard twist drill isn’t the right tool for producing a final precision bore on its own — it’s the roughing operation that sets up the hole for the finishing pass a reamer provides.
Why a Reamer Can’t Fix a Badly Drilled Hole
A reamer generally follows the axis of the hole that’s already there — it isn’t a tool for relocating a hole that was drilled off-position. This is the detail that trips people up: reaming improves size, roundness, and surface finish, but the positional accuracy of the bore has to be established correctly at the drilling stage. If the pilot hole’s axis is off, reaming it just produces a precisely-sized hole in the wrong place.
The Standard Process for a Tapered Knuckle Bore
- Establish the location and axis first. Fixture the knuckle from reliable datum surfaces and accurately set the bore’s centerline before any material is removed. This step determines whether the final hole ends up in the right place — nothing downstream corrects for an error made here.
- Drill undersize. A rigid setup drills a pilot hole intentionally smaller than the final bore, leaving controlled stock for the finishing operation rather than trying to reach final size in one pass.
- Rough out the taper if there’s significant stock to remove. For a substantial taper, a roughing pass ahead of the finishing reamer reduces the load on that final tool — asking a finishing reamer to remove a large amount of material increases cutting force, chatter risk, and tool wear all at once.
- Finish with a purpose-built tapered reamer. This establishes the specified taper angle and final dimensions. For repeatable production work, the reamer, machine alignment, coolant, feed rate, and stock allowance all need to be controlled together — get one of them wrong and the others can’t fully compensate.
- Inspect the whole taper, not just one diameter. Checking only the large-end diameter can miss a real problem. A proper inspection verifies the small-end diameter, the large-end diameter, the taper angle and length, the bore’s position, and its relationship to the surrounding datum surfaces — using a functional taper gauge or an appropriate CMM setup rather than a single caliper measurement.
Why Stock Allowance Matters More Than It Looks Like It Should
Reaming allowance that’s too small or too large both cause problems — poor surface finish, chatter, an oversized final bore, or damage to the reamer itself. Getting this allowance right depends on what the drilling stage left behind, which is part of why the two operations have to be planned together rather than treated as independent steps.
Why This Matters for the Rod End Going Into It
A tapered knuckle bore is the interface a rod end’s tapered stud ultimately seats into. A bore that’s accurately positioned, correctly sized, and properly finished gives the tapered fit a clean, consistent mechanical lock. A bore with runout, an inconsistent taper, or a rough finish from skipping the reaming step undermines that fit regardless of how well-made the rod end itself is — which is why the machining quality of the knuckle bore is as relevant to a reliable installation as the rod end’s own manufacturing quality.
Related reading: How to Install a Heim Joint Into a Tapered Steering Hole · Anatomy of a Rod End: Understanding the Housing, Ball, and Race